Purchasing an Asset
For purchasing a new asset:
- Create an Asset Category
- Create a related Item with 'Is Fixed Asset' enabled for creating the asset.
- You may also enable 'Auto Create Assets on Purchase' for creating assets automatically. (Optional)
 4. Then, the
purchase cycle
should be followed for purchasing an asset.
5. Enter the Asset Location in the Items table of the
Purchase Receipt
or
Purchase Invoice
through which you are receiving the item.
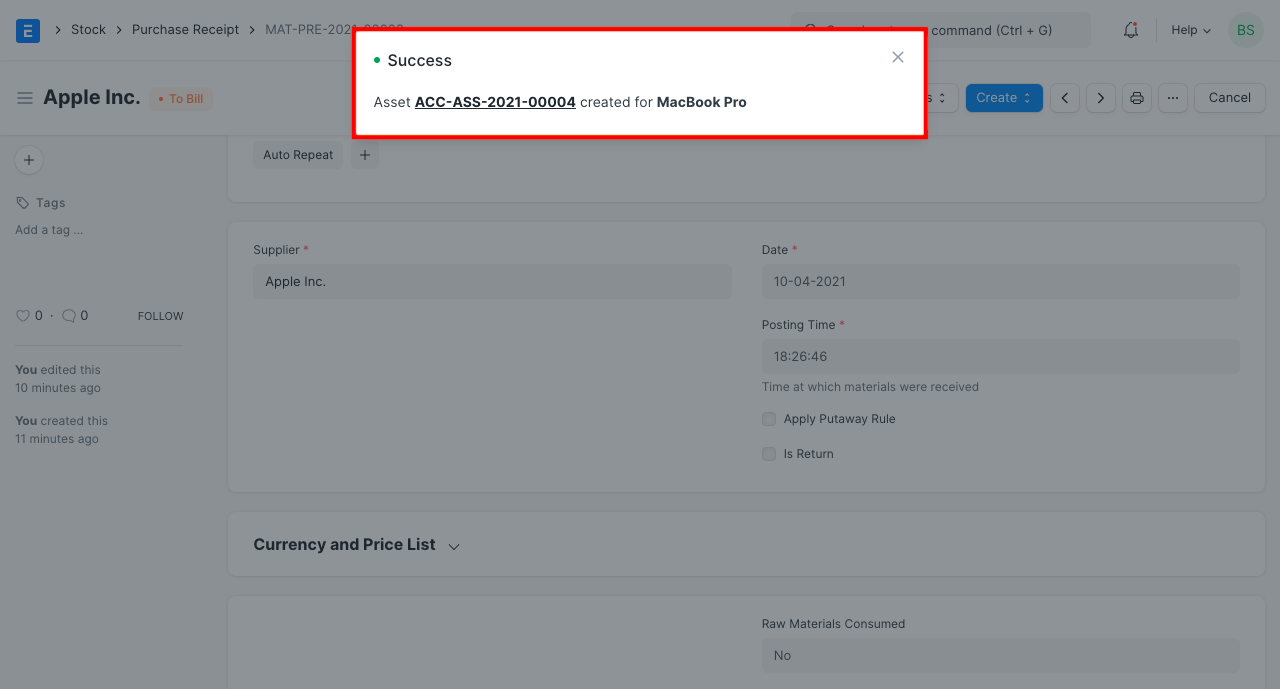
6. On submission of a Purchase Receipt, based on auto creation checkbox, Asset records will be created automatically. You can then enter other details of the Asset manually from the Asset form.

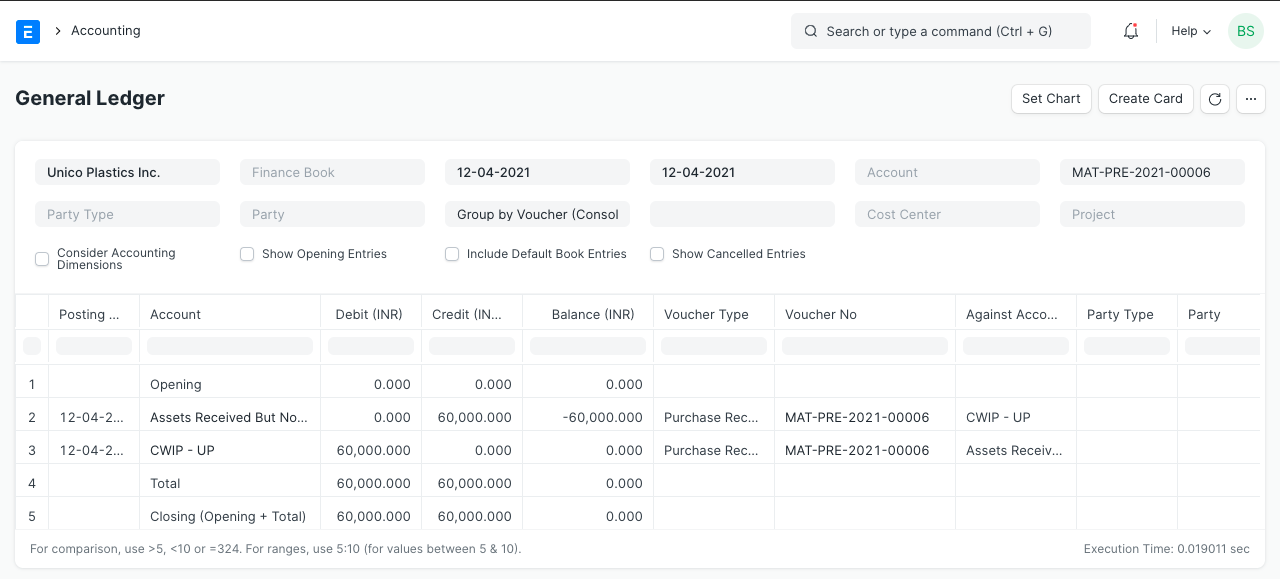
Following accounting entries will be posted on submission of the Receipt entry if Capital Work In Progress Accounting is enabled in the Asset Category of the purchased asset.

It is noticeable here that, instead of corresponding asset account, Capital Work in Progress (CWIP) has been debited. This is because the asset has only been purchased and it is still not available for use. Until the asset is available for use, the asset value is maintained against this account. On the day when it is available for use, the CWIP account gets credited and corresponding asset account gets debited.
In case of disabled 'Capital Work In Progress Accounting' in the Asset Category, the receipt entry will be made against corresponding asset accounts set in the Asset Category.
ERPNext also uses a temporary account "Asset Received But Not Billed" (a liability account) which gets credited on submission of Purchase Receipt entry. Later, on submission of Purchase Invoice, this account gets debited/reversed.
Related Topics


