Using Prepared Report
Many times when generating a report that deals with a large volume of data, say, a GL report for the entire year, you may end up getting the following error message: Request Timed Out . This occurs as there is a lot of data to be processed and presented on the report page, but not enough server resource hence resulting in a time out.
For better processing of such reports, ERPNext offers Prepared Reports (since v11). When a report is set as a Prepared Report, it is generated through a background job , and once ready, is available for users to view.
Steps to Set Up Prepared Reports
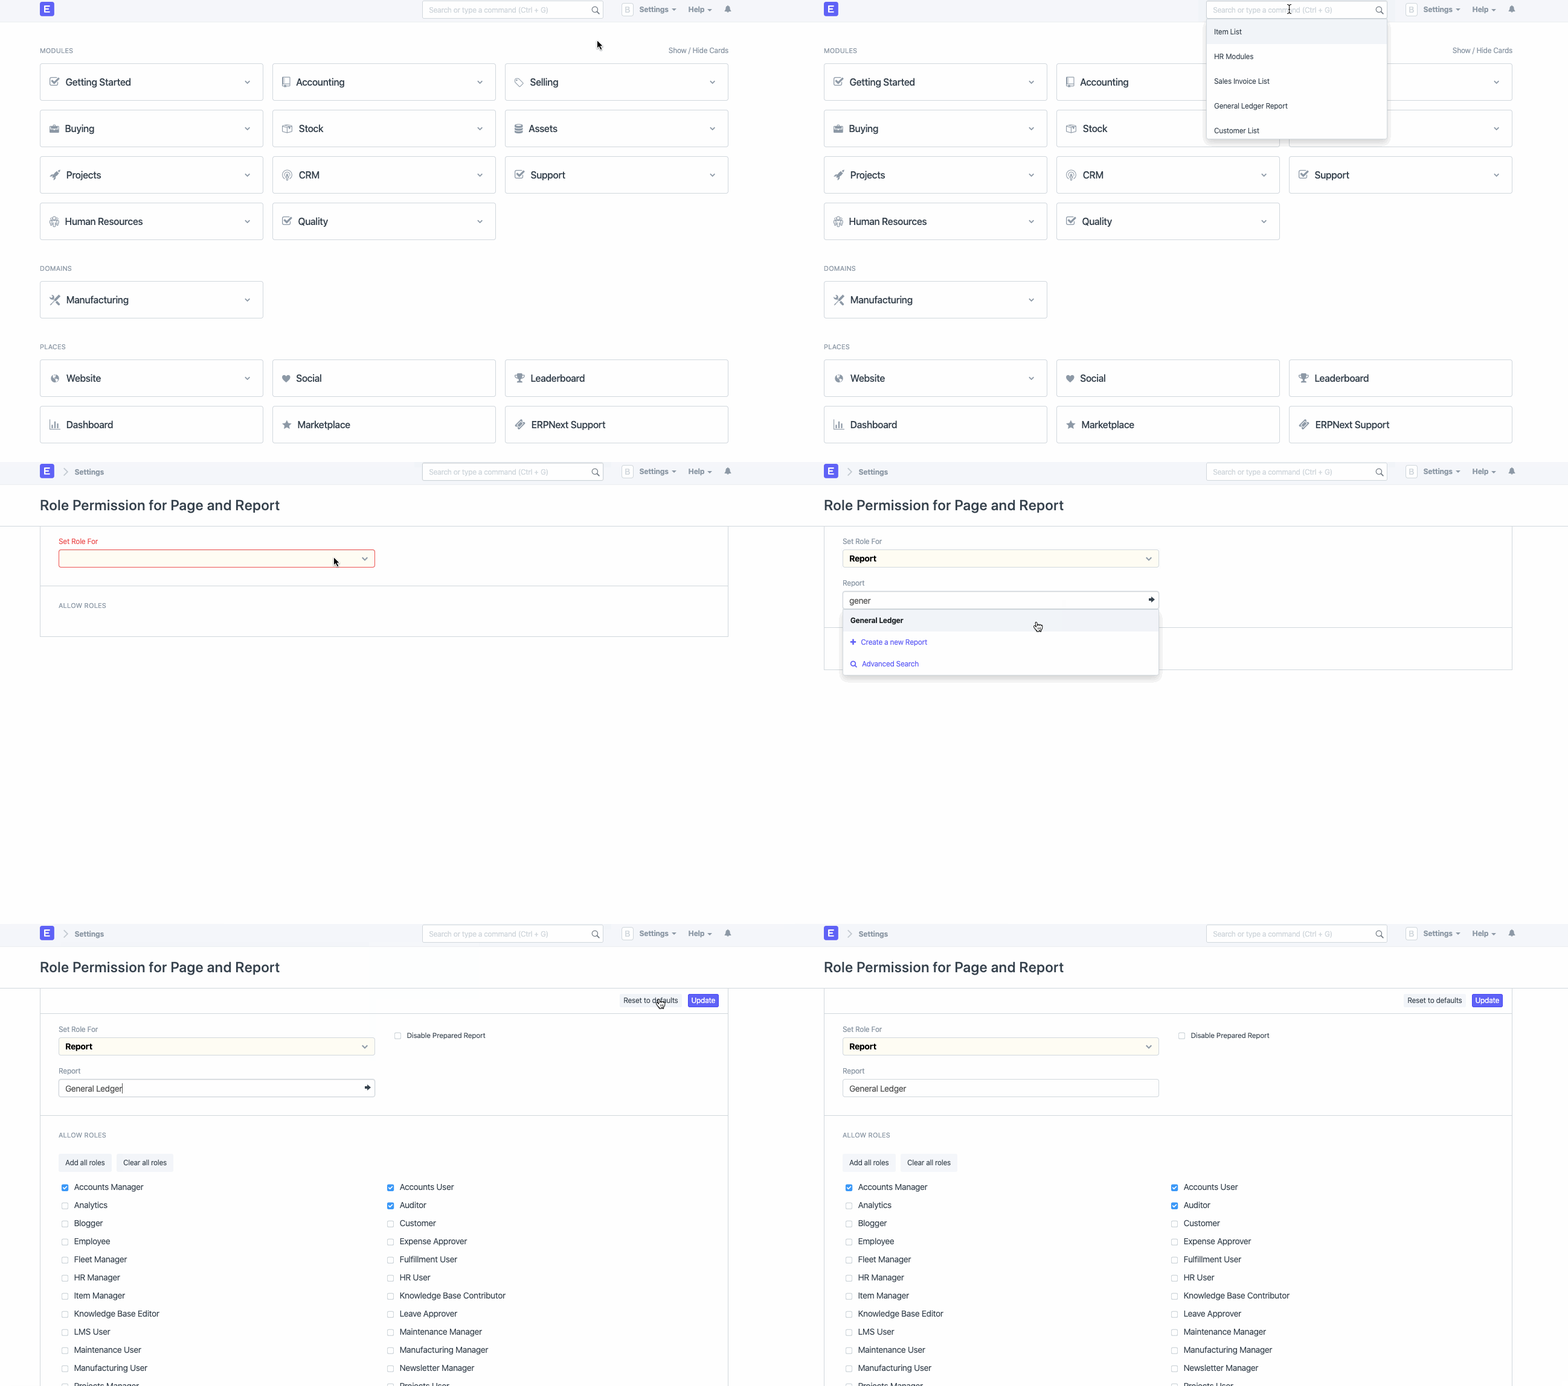
- Go to Role Permission for Page and Report .
- In the field 'Set Role For' select Report .
- In the 'Report' field select the report for which you want to enable/disable prepared report.
- Use the Disable Prepared Report checkbox to enable/disable the prepared report. If the option is checked, the prepared report option will be disabled for the selected report.
- Click on Update .
How To Use A Prepared Report
- Open said report (say General Ledger) and apply all filters needed.
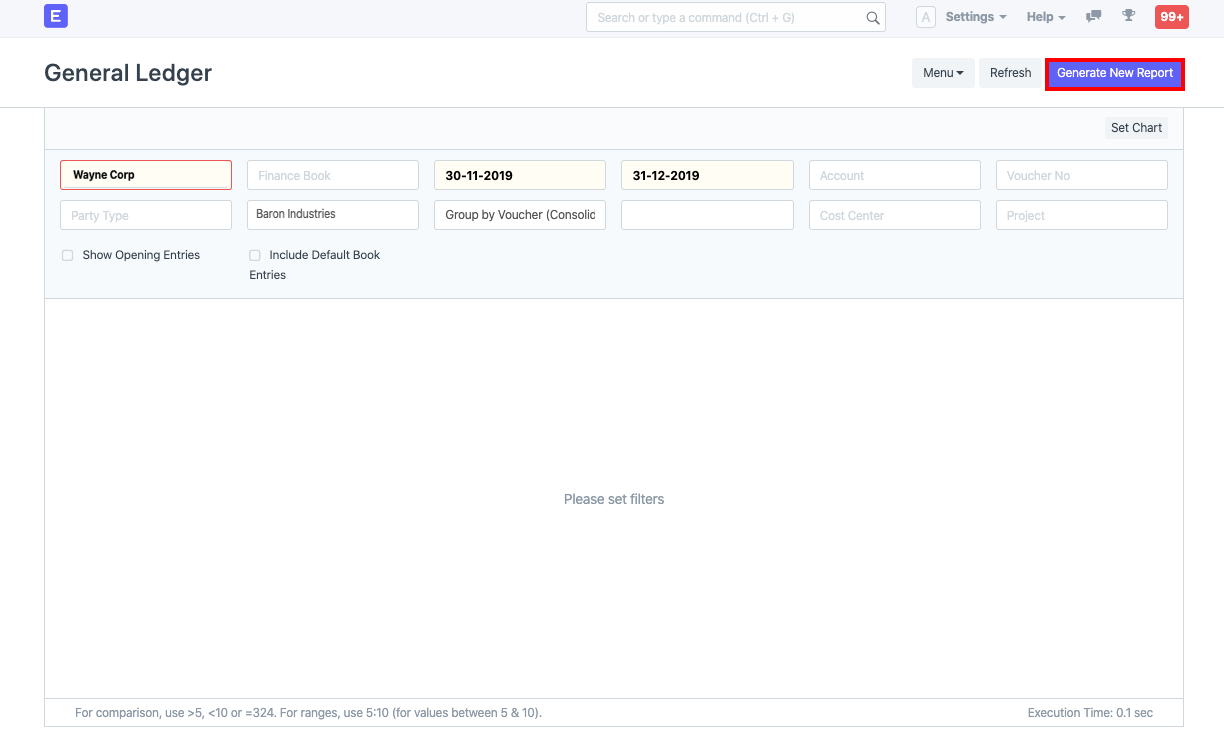
- If the prepared report option is enabled for that report, you will see a
Generate Report
button. Click on the same.
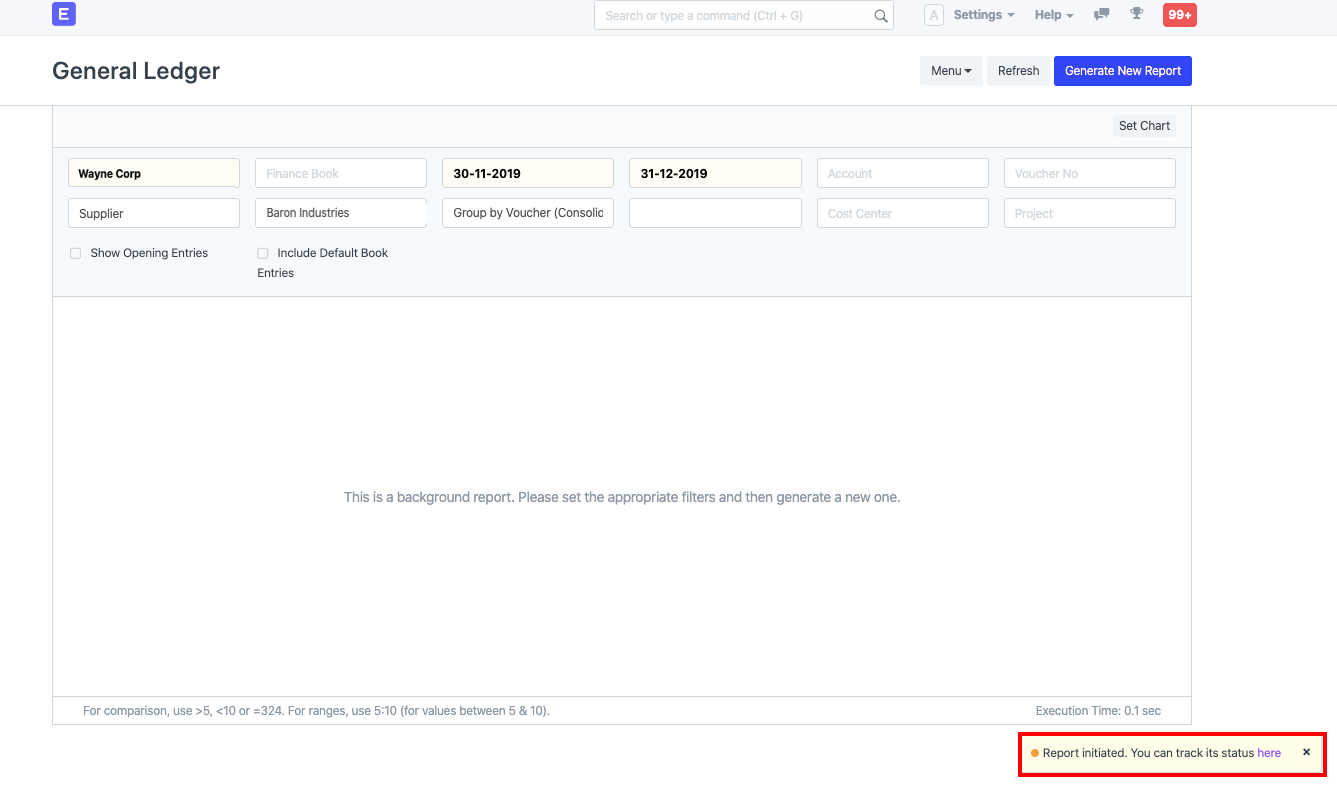
- You will see a notification on the bottom-right of the screen saying "Report initiated. You can track its status _here_"
- You can either wait on the said screen or click on _here_ in the above message to open the page for the report. This will open a new page for the report:
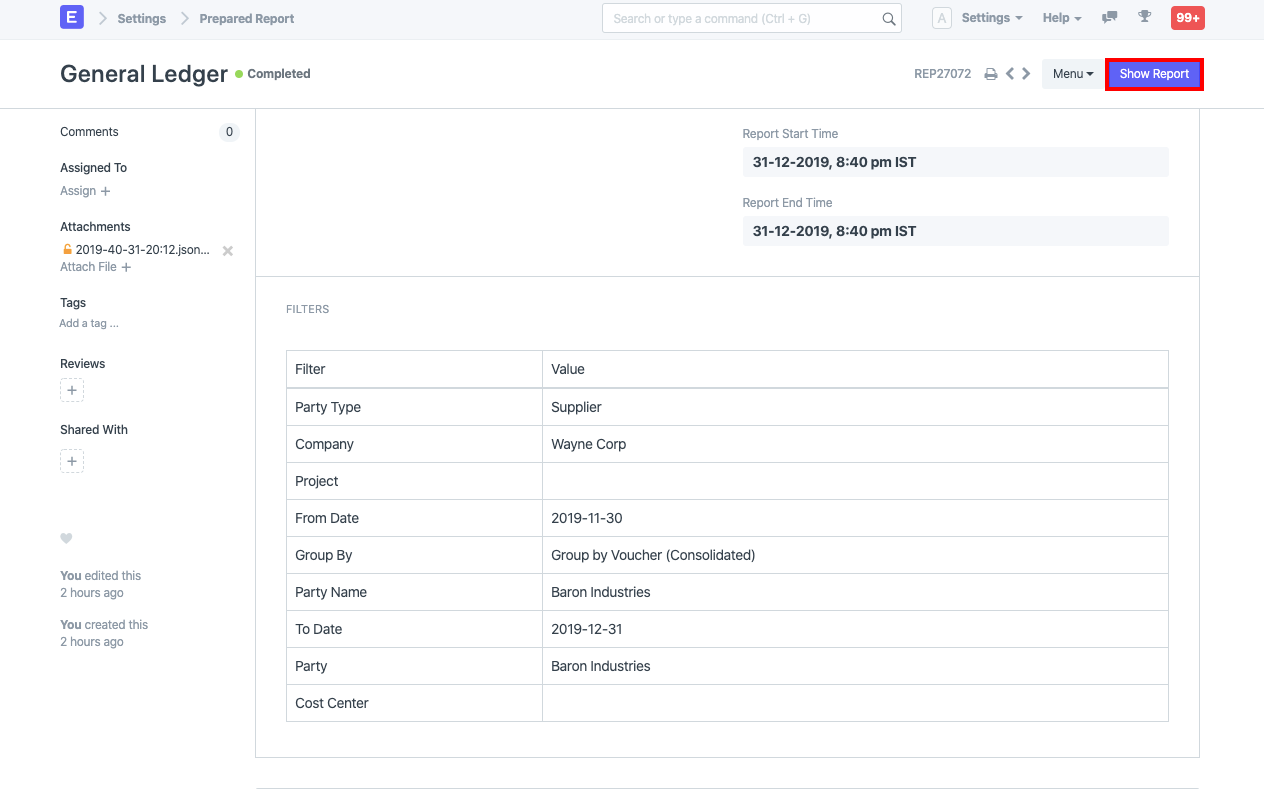
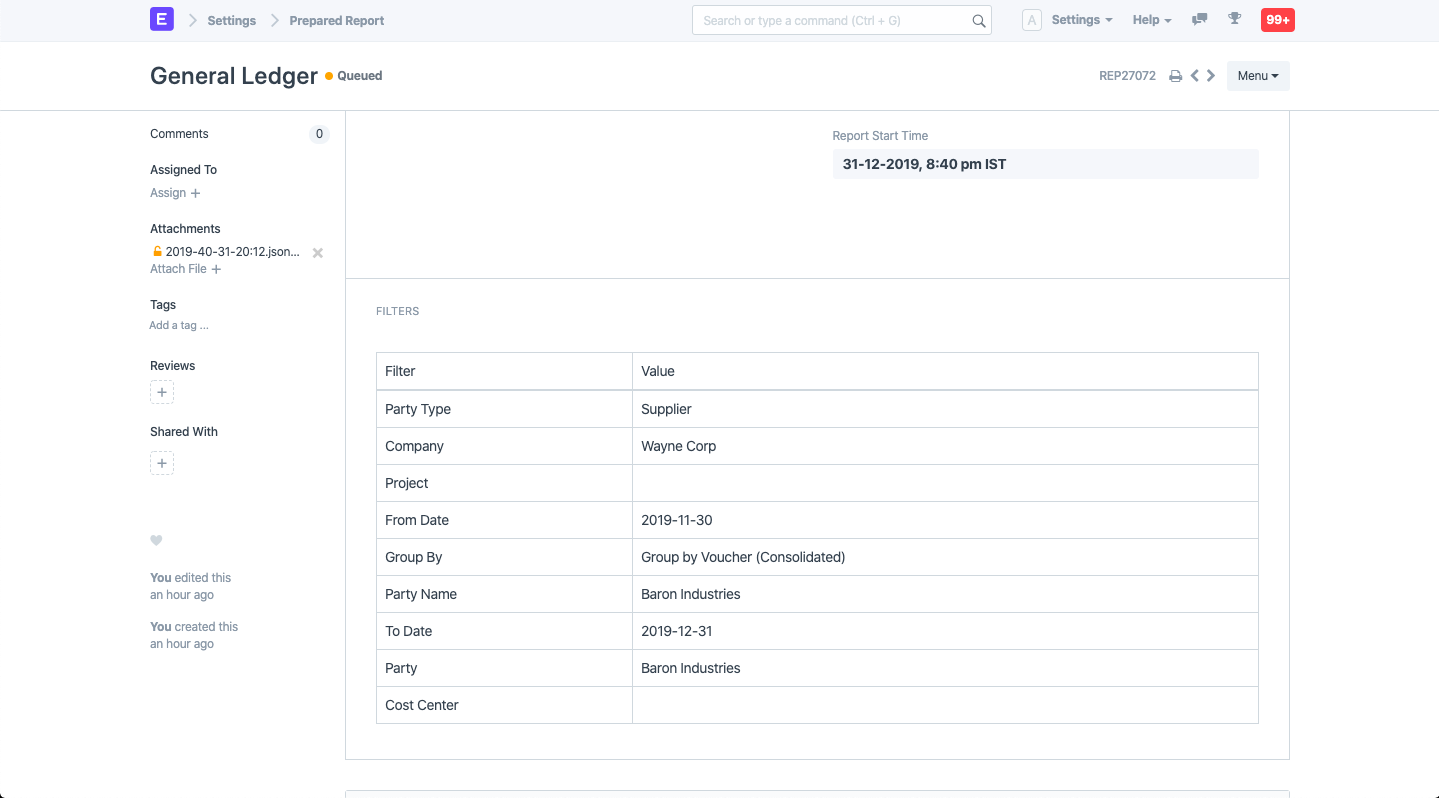 As you see, the report page has status as "Queued". Once the report is ready, you will see a
Show Report
button which you can click to view the report:
- Since Prepared Report is also a doctype, to view the list of Prepared Reports, you can use the Role Permission Manager to grant access to the same.