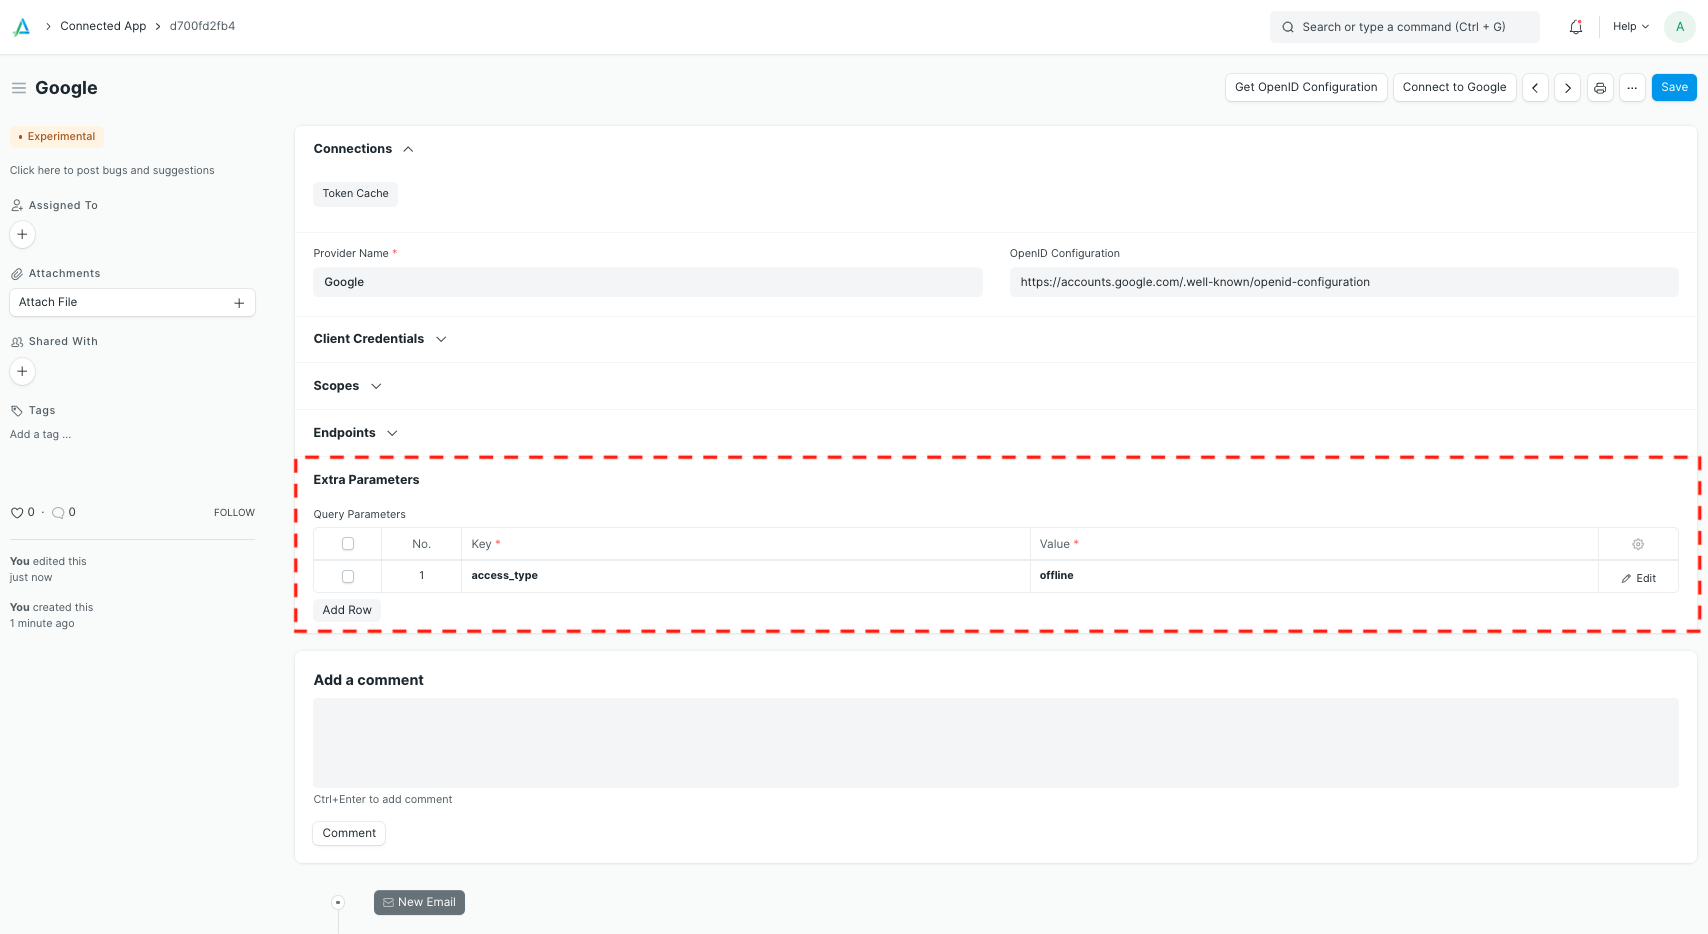
Set up a new Connected App
You can use Connected App to allow your frappe instance to access other web services on your behalf.
This example shows how to connect to Google, but you can use any service supporting OAuth 2.0.
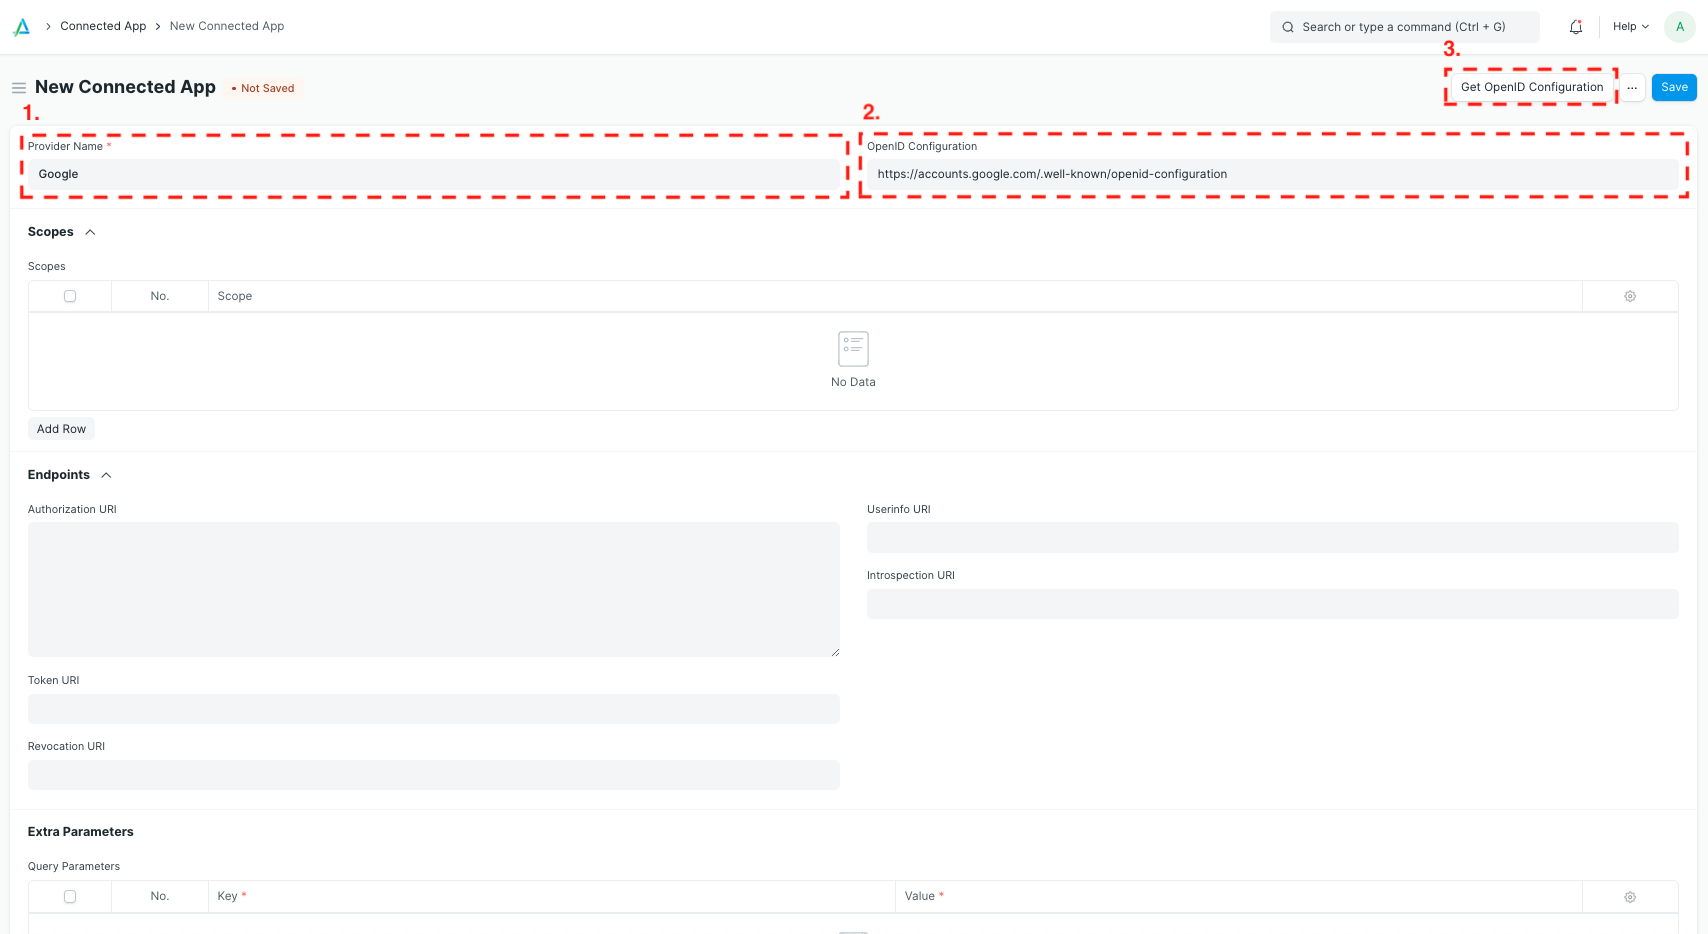
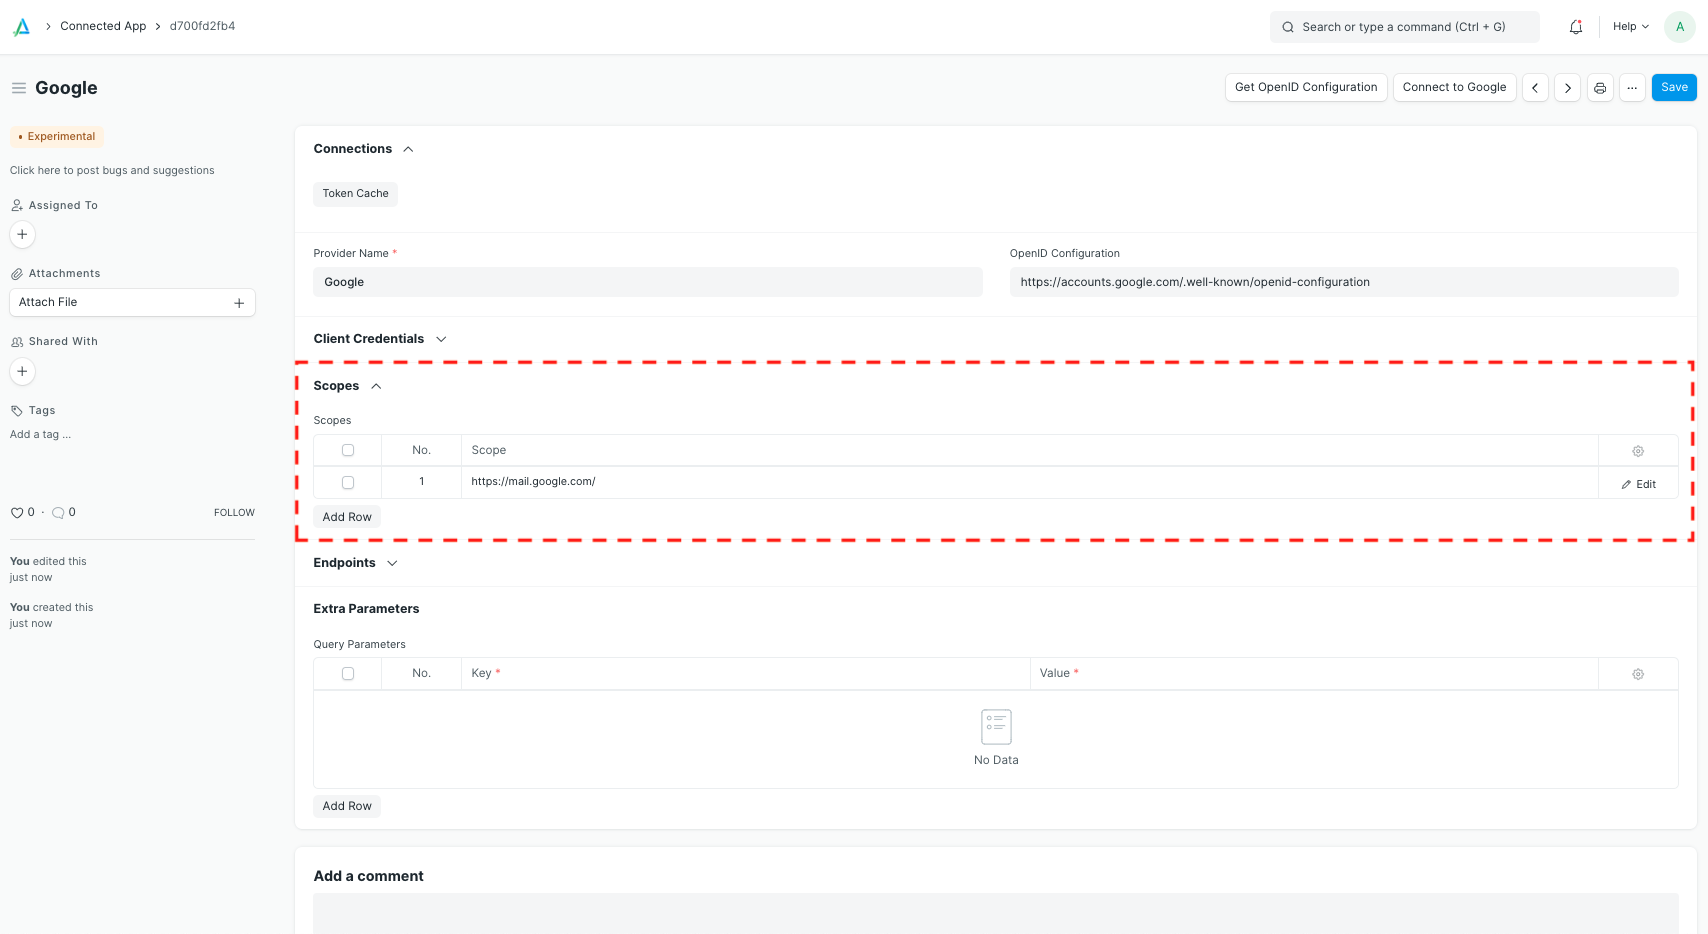
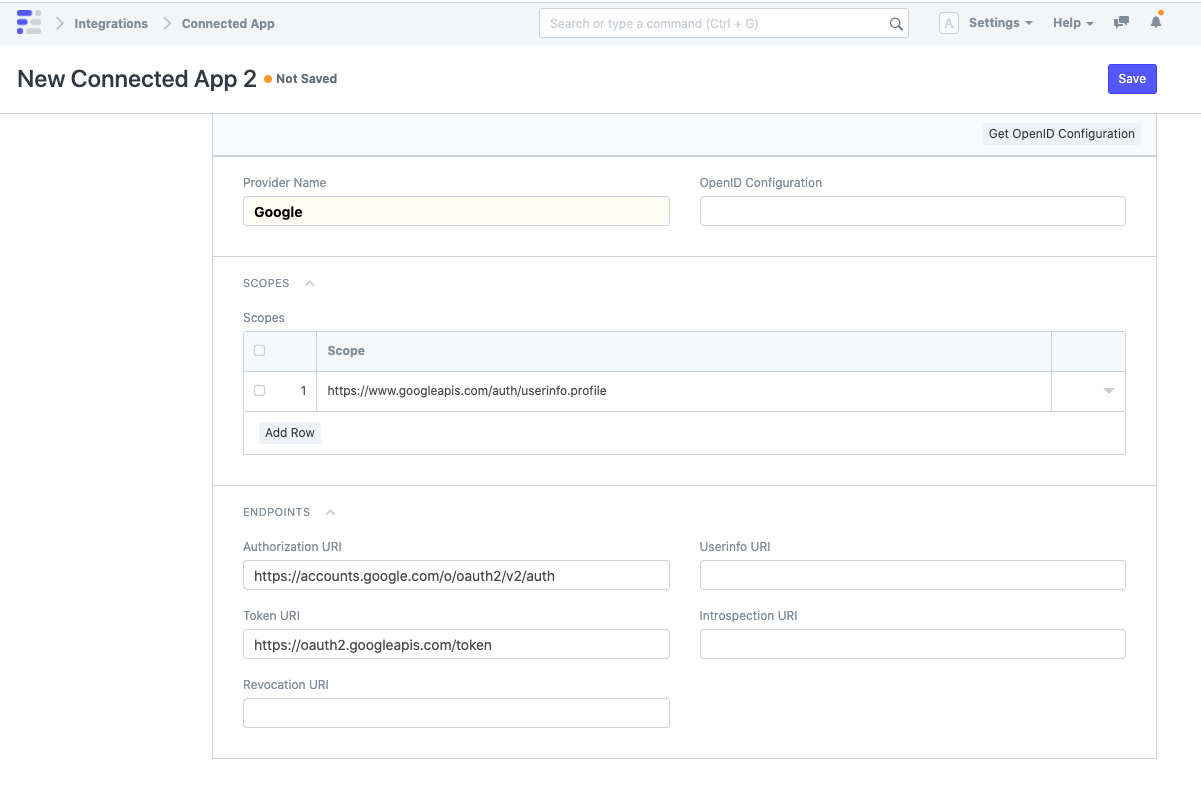
First, create a new Connected App and give it a name. You can already enter the desired scopes and endpoint URIs, if you wish.
Scopes describe what information can be accessed. The Authorization URI is where you will be redirected to give your consent. The Token URI is the endpoint where the system can exchange an authorization code for an access or refresh token. Please check the documentation of the specific integration or third party service to get the right values.
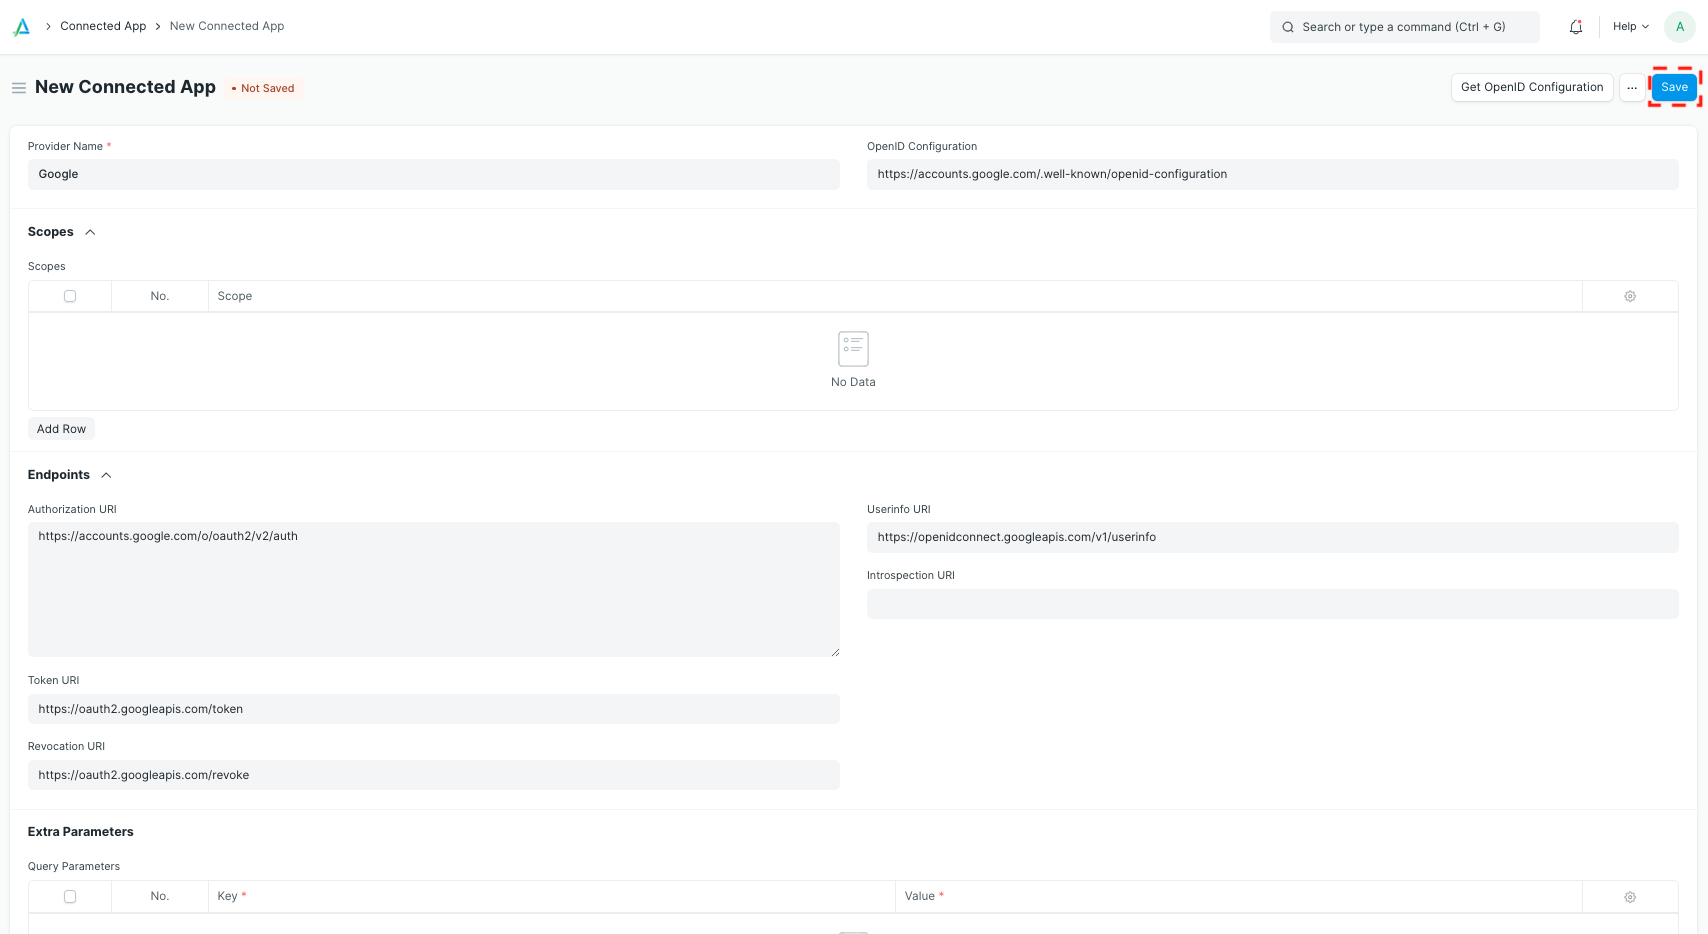
To automatically populate all the URI fields, enter the
openid_configurationendpoint of any provider and click "Get OpenID Configuration". For example, Google's OpenID configuration can be found athttps://accounts.google.com/.well-known/openid-configuration.
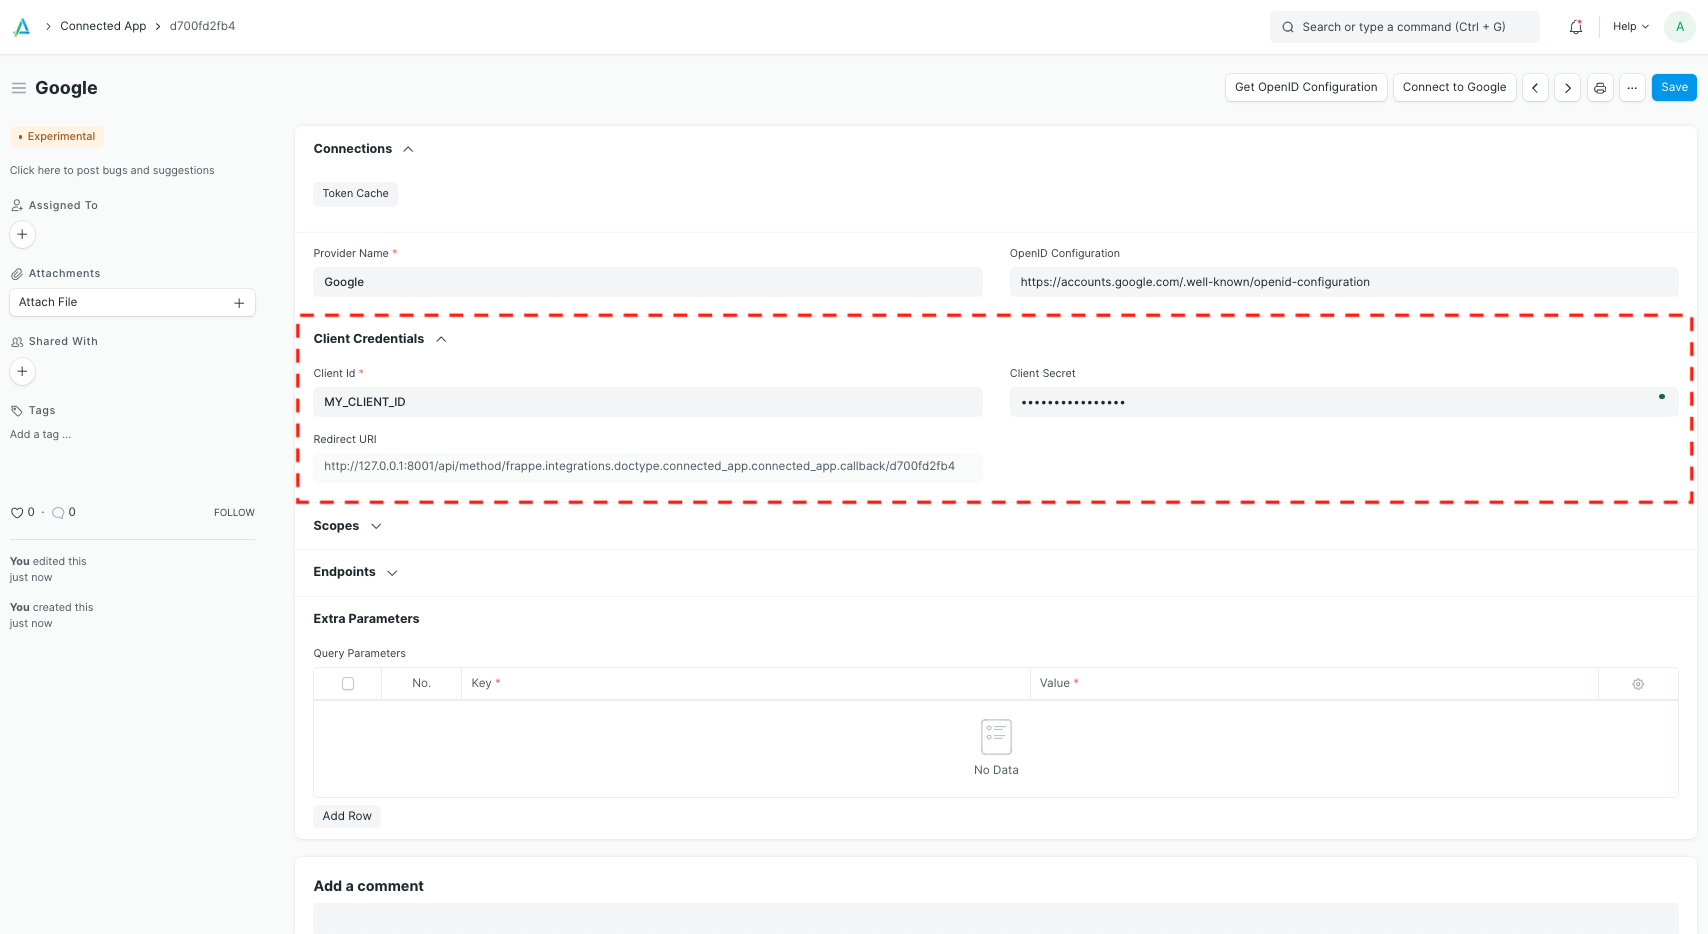
Once the Connected App has been created, you can see the Redirect URI. (Note that the last part of it is specific to your Connected App .)
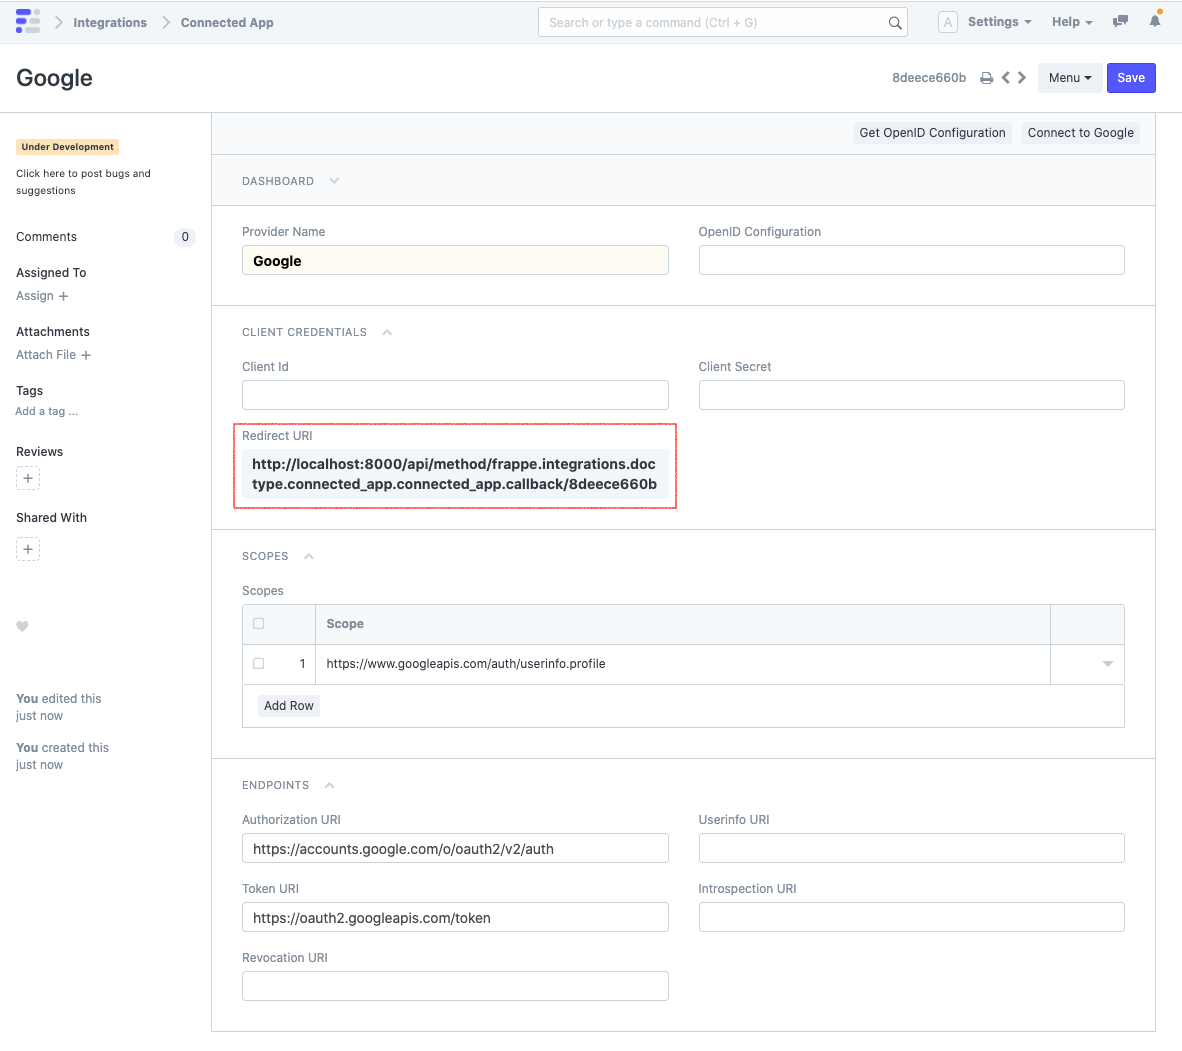
Copy the Redirect URI, head to the third party service and create new OAuth 2.0 client credentials. You will need to specify the authorized JavaScript origins and the Redirect URI you just copied. Enter the domain name of your frappe instance as authorized JavaScript origin. On a production server this might be
https://erp.mycompany.com
. For local development you can use something like
http://localhost:8000
.
It is crucial that the authorized JavaScript origins and the authorized redirect URIs are correct. Otherwise you will not be able to connect.
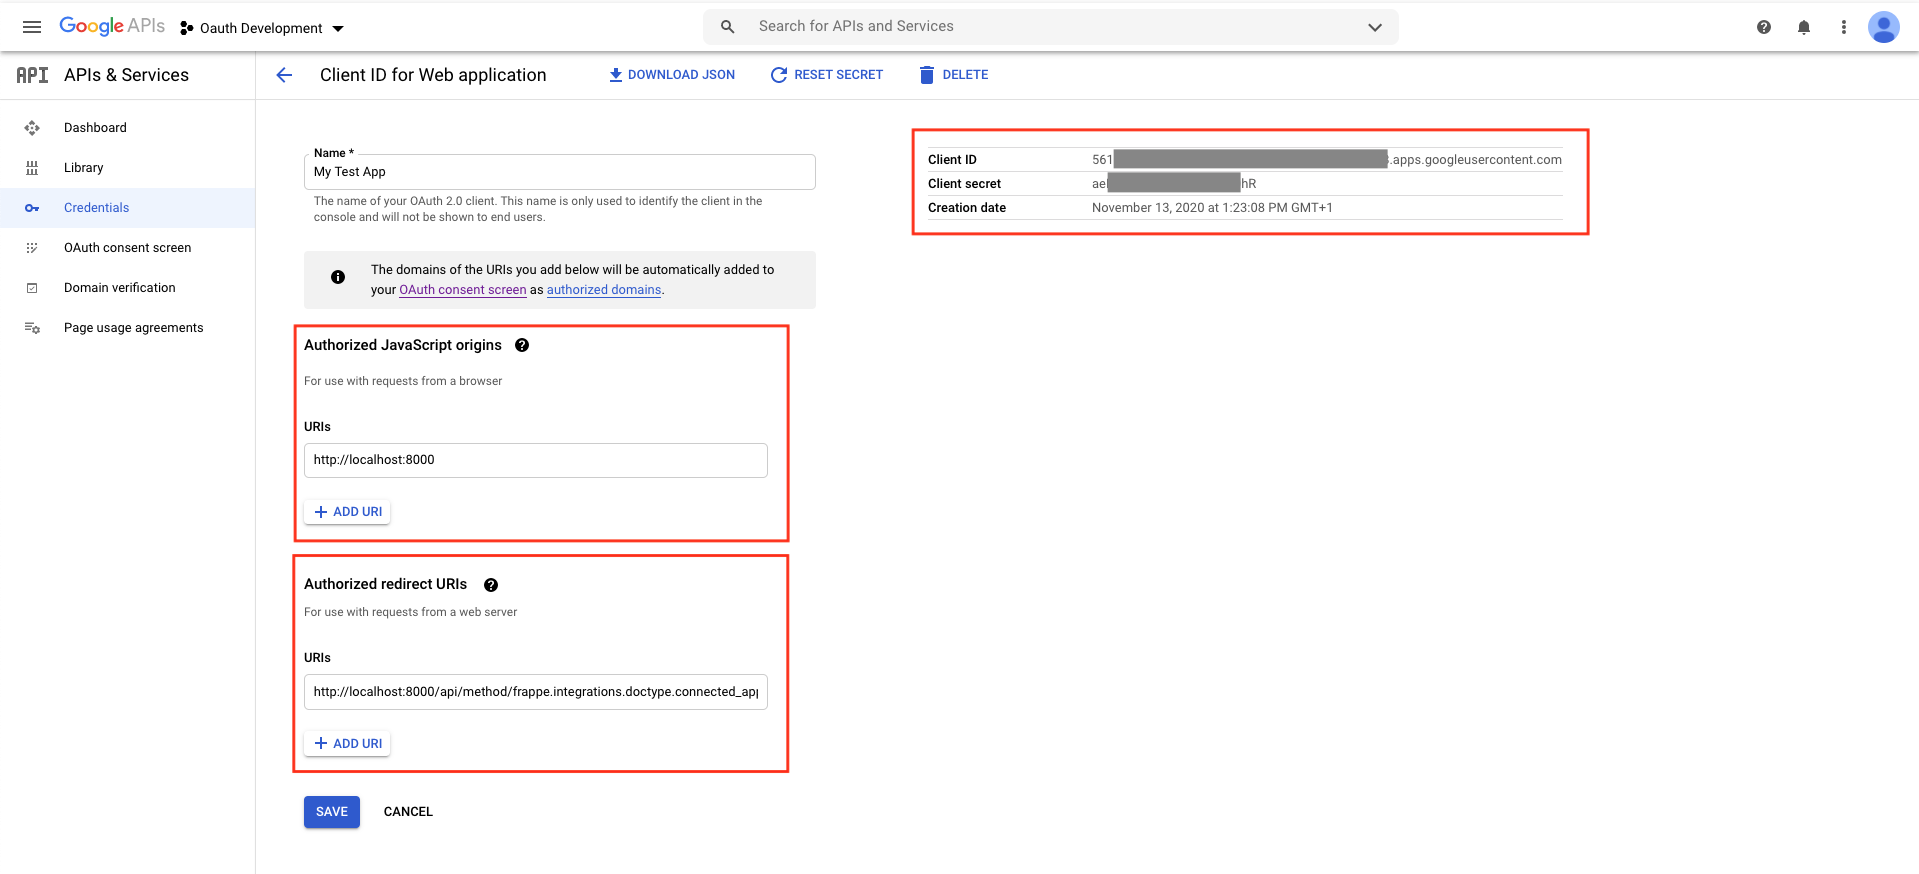
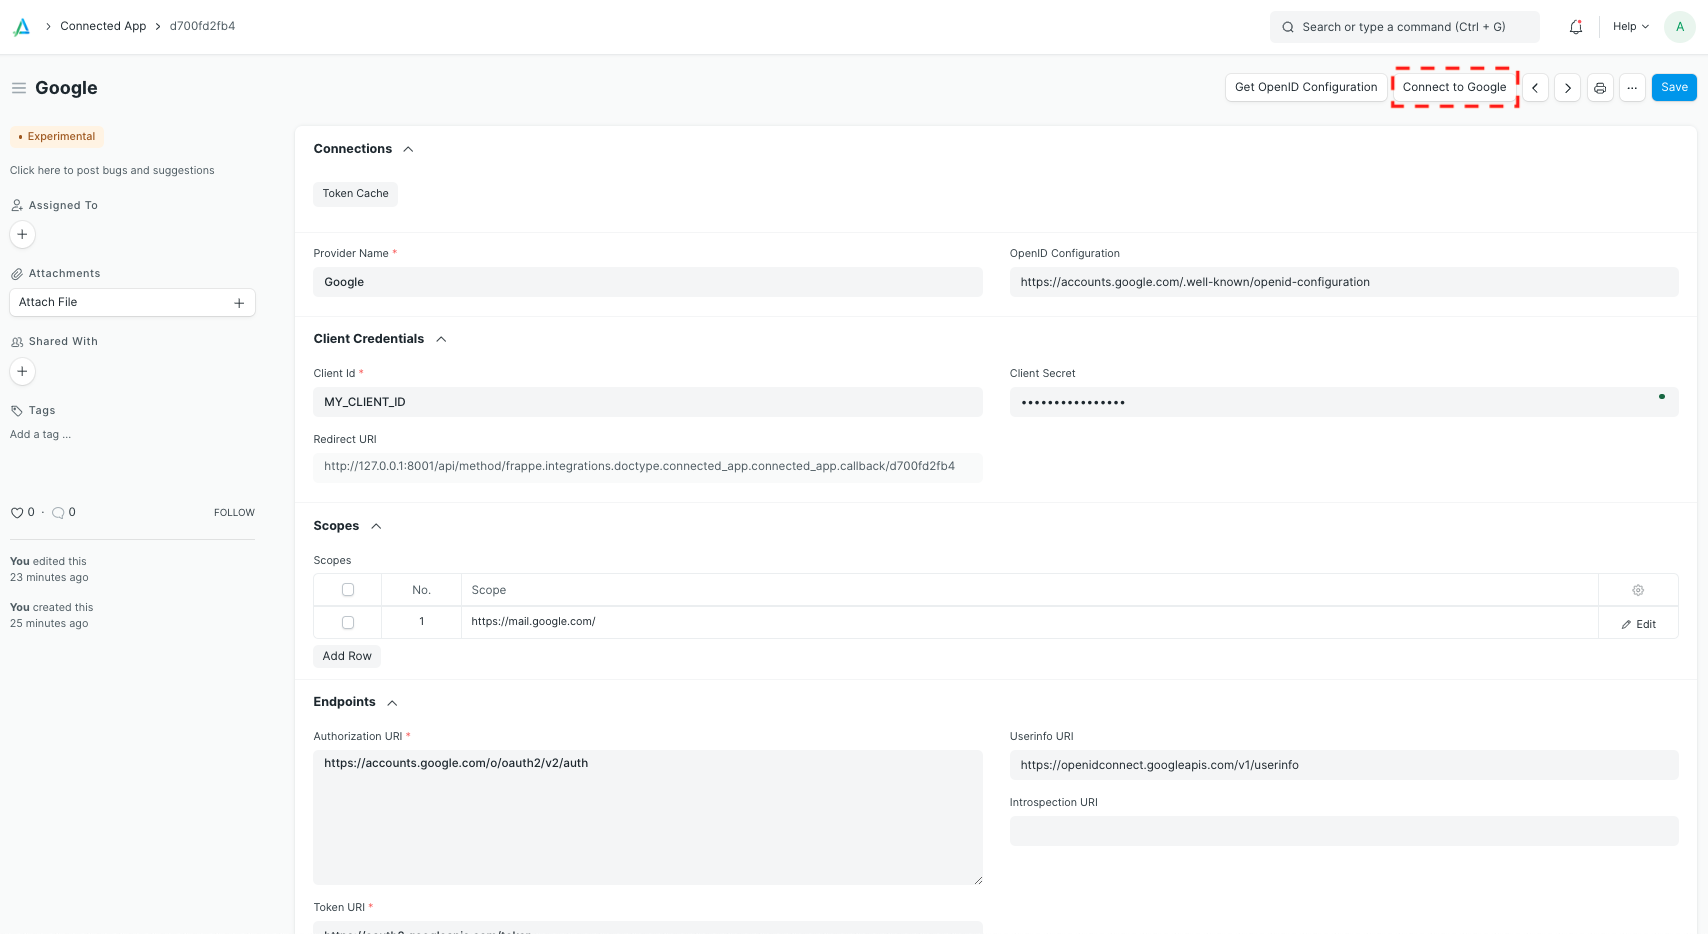
Copy the client ID and secret from the third party service to your Connected App and save. Now you and your users can click on "Connect to ..." on the top right. This will open a new browser tab that shows the third party service's consent screen. After this, you will be redirected to your frappe instance.
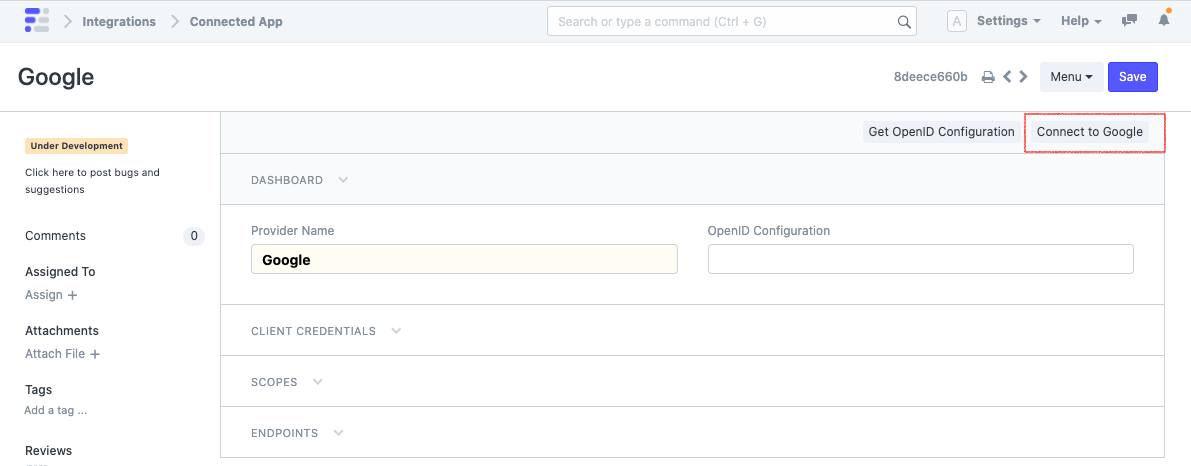
In the backend, your server will exchange a code that it obtained during the redirect for a temporary access token. This can then be used to access the third party service on your behalf.
