Dialog API
Frappe provides a group of standard, interactive and flexible dialogs that are easy to configure and use. There's also an API for Python .
frappe.ui.Dialog
new frappe.ui.Dialog({ title, fields, primary_action })
Creates a new Dialog instance.
let d = new frappe.ui.Dialog({
    title: 'Enter details',
    fields: [
        {
            label: 'First Name',
            fieldname: 'first_name',
            fieldtype: 'Data'
        },
        {
            label: 'Last Name',
            fieldname: 'last_name',
            fieldtype: 'Data'
        },
        {
            label: 'Age',
            fieldname: 'age',
            fieldtype: 'Int'
        }
    ],
    size: 'small', // small, large, extra-large
    primary_action_label: 'Submit',
    primary_action(values) {
        console.log(values);
        d.hide();
    }
});

d.show();
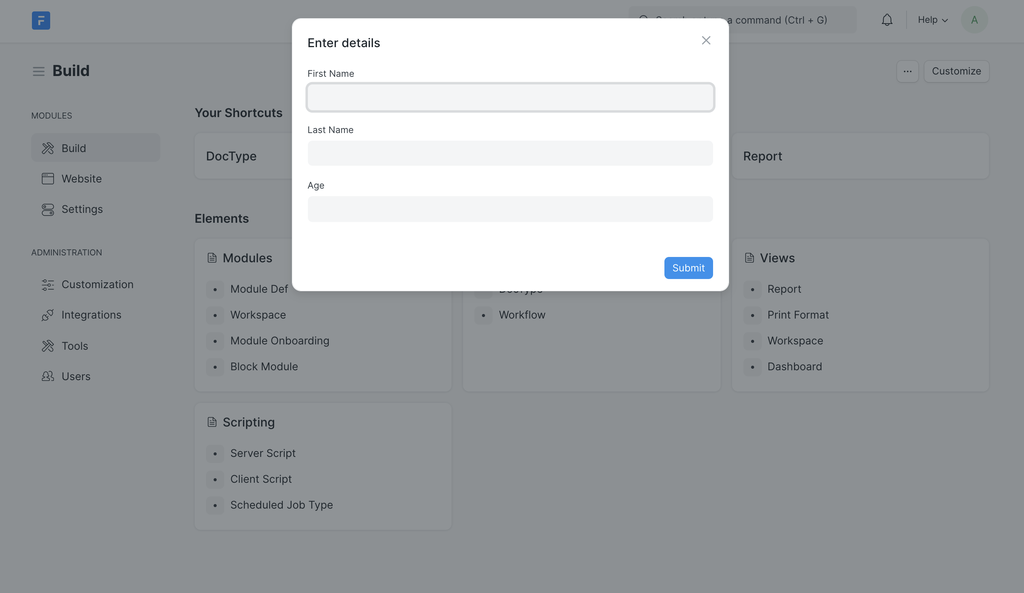 frappe.ui.Dialog
frappe.msgprint
frappe.msgprint(message)
or
frappe.msgprint({ title, message, indicator })
Show
message
in a modal.
// only message
frappe.msgprint(__('Document updated successfully'));

// with options
frappe.msgprint({
    title: __('Notification'),
    indicator: 'green',
    message: __('Document updated successfully')
});
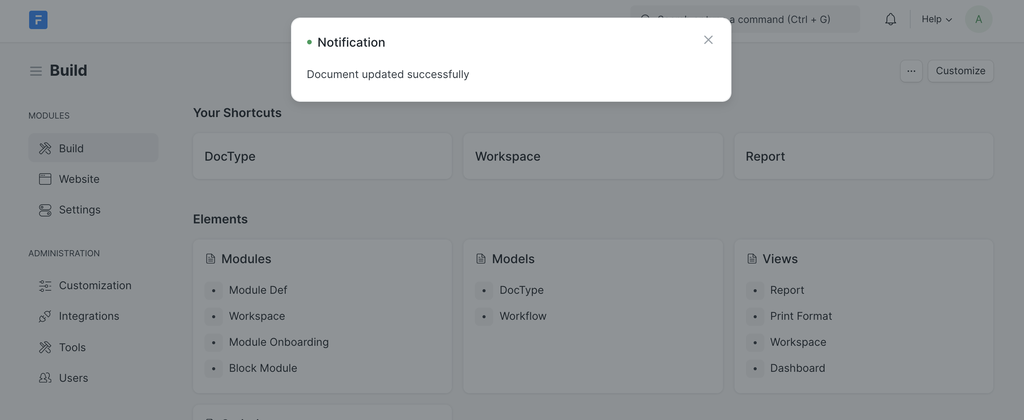 frappe.msgprint
You can also bind a primary action to this dialog by passing
action
(as a method) within
primary_action
. Alternatively,
primary_action
can contain
server_action
or
client_action
.
The
server_action
and
client_action
are dotted paths to the respective methods which will execute on clicking the primary button.
// with primary action
 frappe.msgprint({
    title: __('Notification'),
    message: __('Are you sure you want to proceed?'),
    primary_action:{
        action(values) {
            console.log(values);
        }
    }
});

// with server and client action
frappe.msgprint({
    title: __('Notification'),
    message: __('Are you sure you want to proceed?'),
    primary_action: {
    'label': 'Proceed',
    // either one of the actions can be passed
    'server_action': 'dotted.path.to.method',
    'client_action': 'dotted_path.to_method',
    'args': args
    }
});
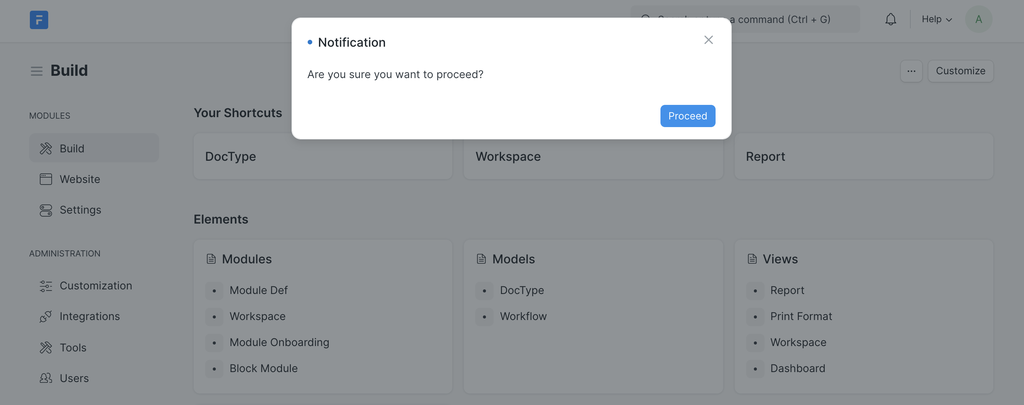 frappe.msgprint with primary action bound
frappe.throw
frappe.throw(error_message)
Show
error_message
in a modal and
throw
exception.
frappe.throw(__('This is an Error Message'))
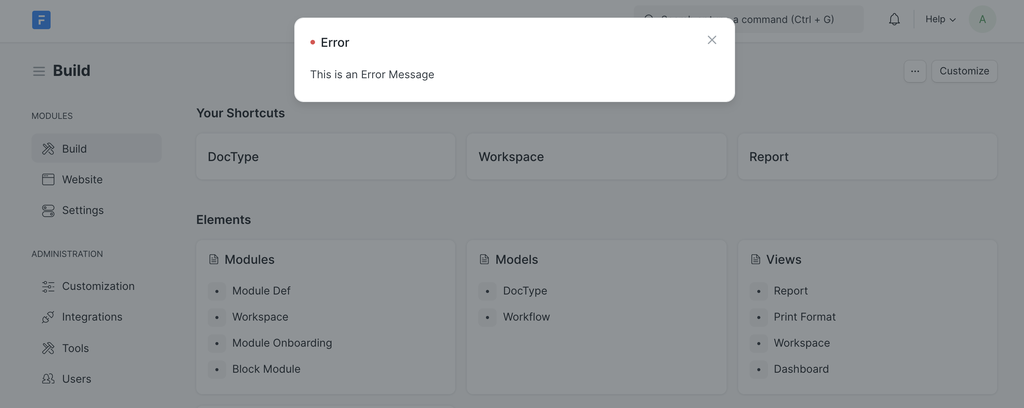 frappe.throw
frappe.prompt
frappe.prompt(label)
or
frappe.prompt(df)
or
frappe.prompt(fields)
Prompt user for a value or list of values.
// prompt for single value of type Data
frappe.prompt('First Name', ({ value }) => console.log(value))

// Set title and button label
frappe.prompt('First Name', console.log, 'Enter First Name', 'Submit');

// prompt for single value of any type
frappe.prompt({
    label: 'Birth Date',
    fieldname: 'date',
    fieldtype: 'Date'
}, (values) => {
    console.log(values.date);
})

// prompt for multiple values
frappe.prompt([
    {
        label: 'First Name',
        fieldname: 'first_name',
        fieldtype: 'Data'
    },
    {
        label: 'Last Name',
        fieldname: 'last_name',
        fieldtype: 'Data'
    },
], (values) => {
    console.log(values.first_name, values.last_name);
})
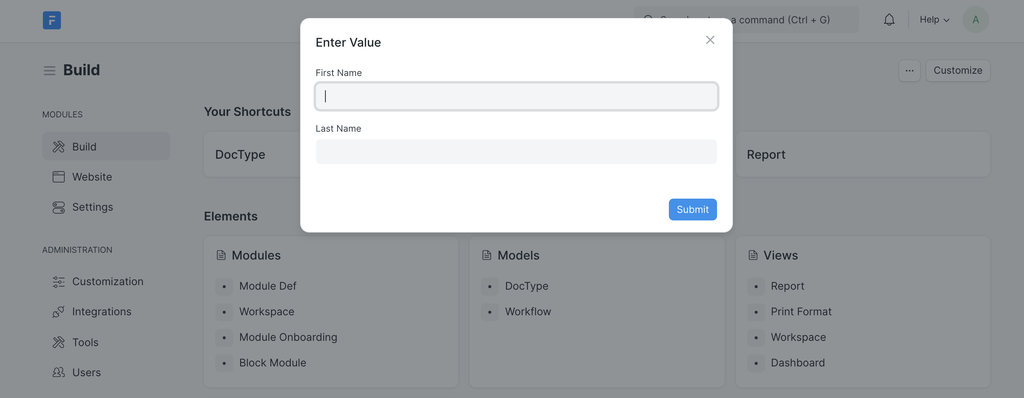 frappe.prompt
frappe.confirm
frappe.confirm(message, if_yes, if_no)
Show a confirmation modal, executes
if_yes
if confirmation is given else executes
if_no
.
frappe.confirm('Are you sure you want to proceed?',
    () => {
        // action to perform if Yes is selected
    }, () => {
        // action to perform if No is selected
    })
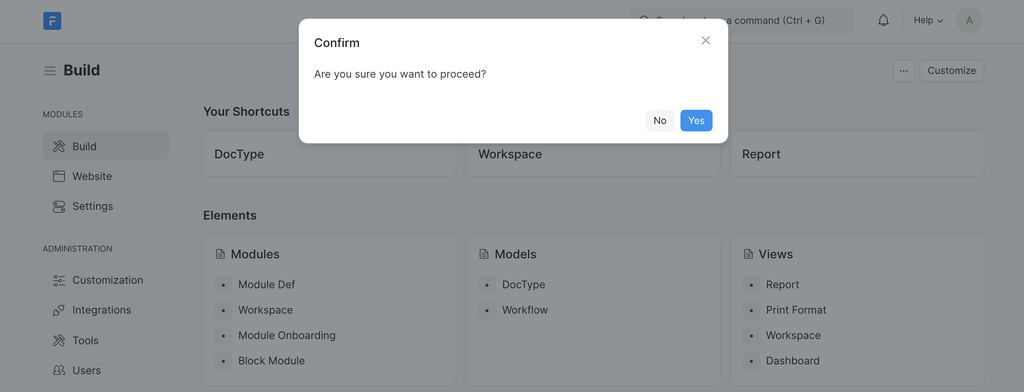 frappe.confirm
frappe.warn
frappe.warn(title, message_html, proceed_action, primary_label, is_minimizable)
Show a warning modal, executes
proceed_actiion
if confirmation is given. It can be set as
minimizable
which allows the dialog to be minimized.
frappe.warn('Are you sure you want to proceed?',
    'There are unsaved changes on this page',
    () => {
        // action to perform if Continue is selected
    },
    'Continue',
    true // Sets dialog as minimizable
)
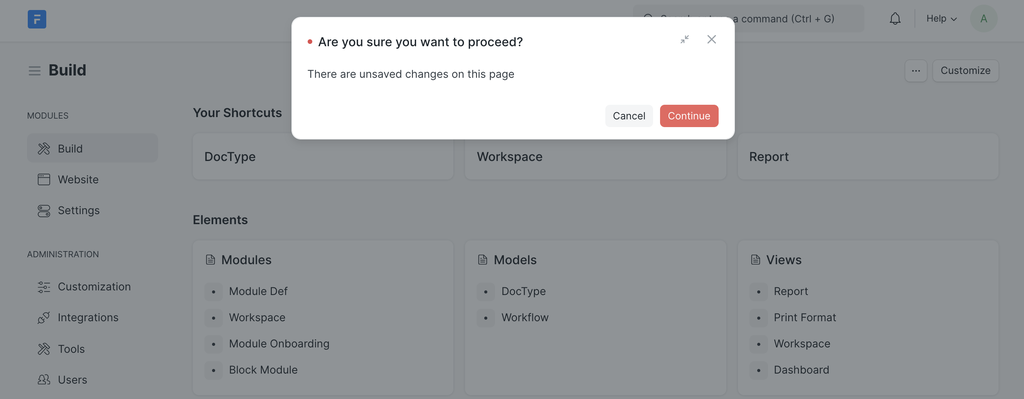 frappe.confirm
frappe.show_alert
frappe.show_alert(message, seconds)
or
frappe.show_alert({message, indicator}, seconds)
Alert Dialog is used for showing non-obstructive messages.
Its parameters include
message
, which can contain the indicator color as well, and its display duration. The default is
7 seconds
.
frappe.show_alert('Hi, you have a new message', 5);

//show_alert with indicator
frappe.show_alert({
    message:__('Hi, you have a new message'),
    indicator:'green'
}, 5);
 frappe.show_alert
frappe.show_progress
frappe.show_progress(title, count, total, description)
Displays a progress bar with
count
(as current progress) and
total
(as maximum progress value).
frappe.show_progress('Loading..', 70, 100, 'Please wait');
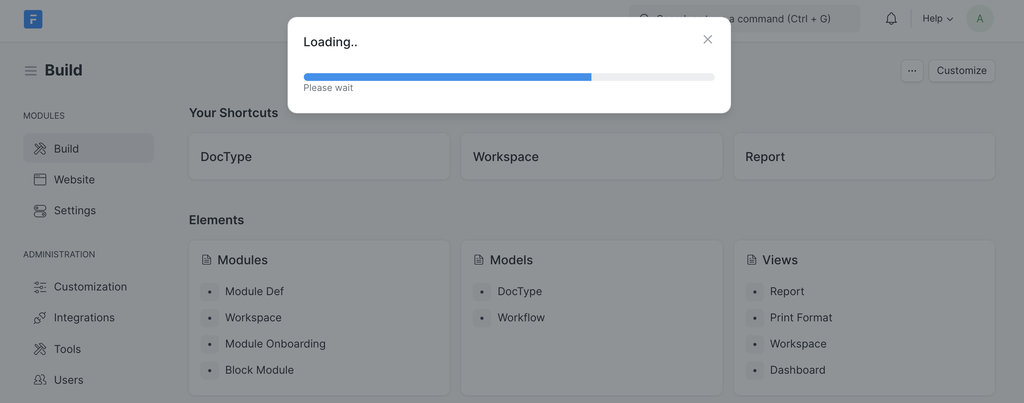 frappe.show_progress
frappe.new_doc
frappe.new_doc(doctype, route_options, init_callback)
Opens a new form of the specified DocType that allows to edit and save it. If "Quick Entry" is enabled for the DocType (that allows to enter the most important fields) the "Quick Entry" pop-up window will be shown. Otherwise you will be redirected to the usual document entry form.
For example, let's create a new Task :
frappe.new_doc("Task");
Often when you are creating a new document in the user interface you want to initialize some of its fields based on the user interaction that triggered the creation. The other two arguments can be used for such initialization.
Specifically, the
route_options
argument is a quick and convenient way to set any field of type Link, Select, Data, or Dynamic Link in the new document. Its value should be an object whose keys are the desired field names and whose values are the initial values.
frappe.new_doc("Task", {subject: "New Task"});
If you need to do any other initialization of the new document that is not possible with
route_options
,
init_callback
gives you full control. It should be a function of one argument. If the doctype is initialized with a "Quick Entry" form, the callback is called with the "Quick Entry" dialog object just before control is released back to the user. Otherwise, the callback is called with the new document just before the user is allowed to edit it in the standard form.
frappe.new_doc("Task", {subject: "New Task"},
                doc => {doc.description = "Do what's necessary";});
Note that
subject
is a field of type "Data", so we are able to take advantage of the
route_options
argument to set it.
description
is a field of type "Text Editor", so if we want to initialize it, that must be done in the callback.
For a slightly more complex example, here's a call that creates a new Journal Entry of type "Bank Entry" and populates one side of the transaction:
frappe.new_doc("Journal Entry", {"voucher_type": "Bank Entry"}, doc => {
    doc.posting_date = frappe.datetime.get_today();
    let row = frappe.model.add_child(doc, "accounts");
    row.account = 'Bank - A';
    row.account_currency = 'USD';
    row.debit_in_account_currency = 100.0;
    row.credit_in_account_currency = 0.0;
});
frappe.ui.form.MultiSelectDialog
new frappe.ui.form.MultiSelectDialog({ doctype, target, setters, date_field, get_query, action })
A MultiSelectDialog consists of filter fields followed by a multiple selection list. The primary button will perform the passed
action
on the selected options.
By default, the Search Term field and Date Range field will compose the filter fields.
The argument list includes:
doctype: The source to fetch and display selection entries from.target: The target where the modal is to be displayed.setters: These will compose the filter fields and values to populate them with. These also translate to custom columns for the selection list.add_filters_group: A boolean value to add/remove the filter group in the dialog belowsetters. The filter group is same as the list view filters.date_field: It is necessary to pass thedate_fieldof the DocType in consideration.get_query: A function that returnsqueryandfiltersto query the selection list. A custom server side method can be passed viaquery, andfilterswill be passed to that method.action: Contains the primary action to be performed on the selected options. It takesselectionsas a parameter, which comprises of the selected options.columns: An array of fields returned by custom query which will become columns in result datatable. Only works with the custom query (get_queryargument returning aquery).
Let us assume we want to fetch Material Requests into our dialog. We can then go on to invoke the MultiSelectDialog in the following manner:
new frappe.ui.form.MultiSelectDialog({
    doctype: "Material Request",
    target: this.cur_frm,
    setters: {
        schedule_date: null,
        status: 'Pending'
    },
    add_filters_group: 1,
    date_field: "transaction_date",
    get_query() {
        return {
            filters: { docstatus: ['!=', 2] }
        }
    },
    action(selections) {
        console.log(selections);
    }
});

// MultiSelectDialog with custom query method
let query_args = {
    query:"dotted.path.to.method",
    filters: { docstatus: ["!=", 2], supplier: "John Doe" }
}

new frappe.ui.form.MultiSelectDialog({
    doctype: "Material Request",
    target: this.cur_frm,
    setters: {
        schedule_date: null,
        status: 'Pending'
    },
    add_filters_group: 1,
    date_field: "transaction_date",
    columns: ["name", "transaction_date", "status"],
    get_query() {
        return query_args;
    },
    action(selections) {
        console.log(selections);
    }
});
 frappe.ui.form.MultiSelectDialog
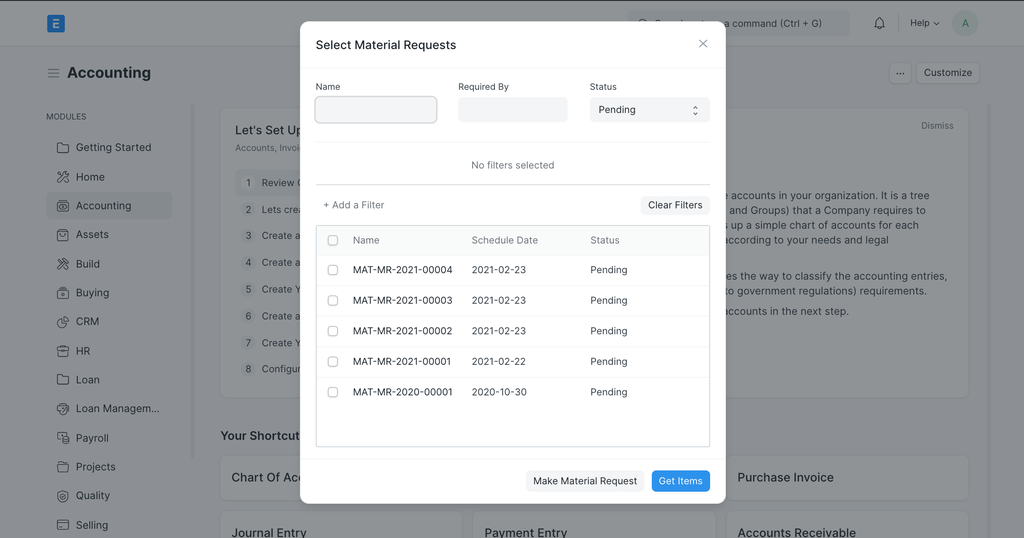
Here all the Material Requests that fulfill the filter criteria will be fetched into the selection area. The setter
company
is added to the filter fields along with its passed value. The
date_field
will be used to fetch and query dates from the DocType mentioned.
The
Make Material Request
(or
Make {DocType}
) secondary action button will redirect you to a new form in order to make a new entry into the DocType passed.
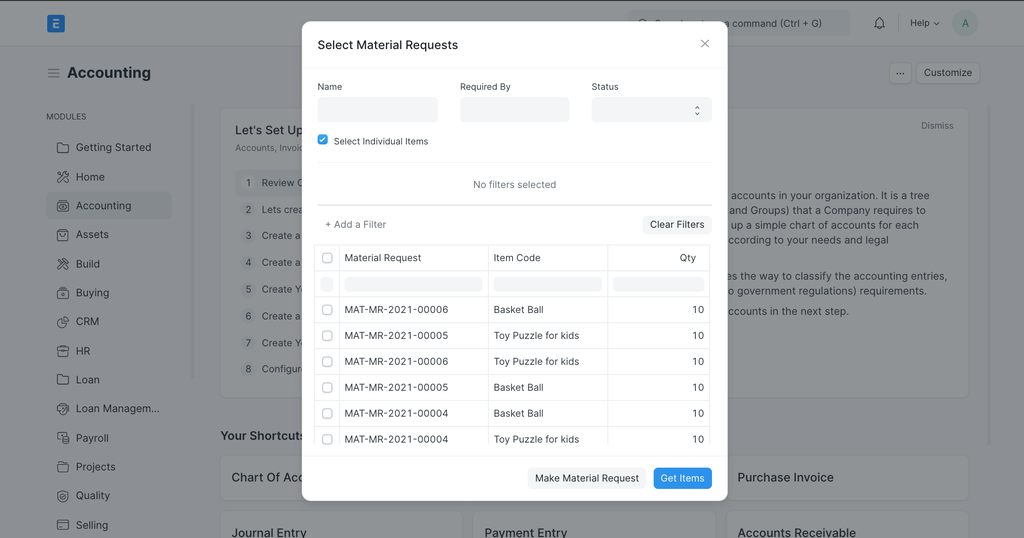
Now, if we want to only select particular item from a Material Request, then we can use optional
child_selection_mode
to enable child selection
// MultiSelectDialog for individual child selection
new frappe.ui.form.MultiSelectDialog({
    doctype: "Material Request",
    target: this.cur_frm,
    setters: {
        schedule_date: null,
        status: null
    },
    add_filters_group: 1,
    date_field: "transaction_date",
    allow_child_item_selection: 1,
    child_fieldname: "items", // child table fieldname, whose records will be shown & can be filtered
    child_columns: ["item_code", "qty"], // child item columns to be displayed
    get_query() {
        return {
            filters: { docstatus: ['!=', 2] }
        }
    },
    action(selections, args) {
        console.log(args.filtered_children); // list of selected item names
    }
});
 frappe.ui.form.MultiSelectDialog
Here you will see a checkbox Select Individual Items to toggle between child item selection & parent selection. Once you toggle it, all the individual Material Requests Items are listed from the all the queried Material Request, you can now filter these items for selection.
To access the selected children, you can use
args.filtered_children
list which contains selected child item names.